Updating Emisar/Noctigon (“Hank”) Lights
Updating most Emisar and Noctigon lights (a.k.a. “Hank lights”) is a similar process, the tricky part will be figuring out which firmware to use. There are so many different emitter, driver, tint ramping, and other options that it can be difficult to tell which firmware is the correct firmware.

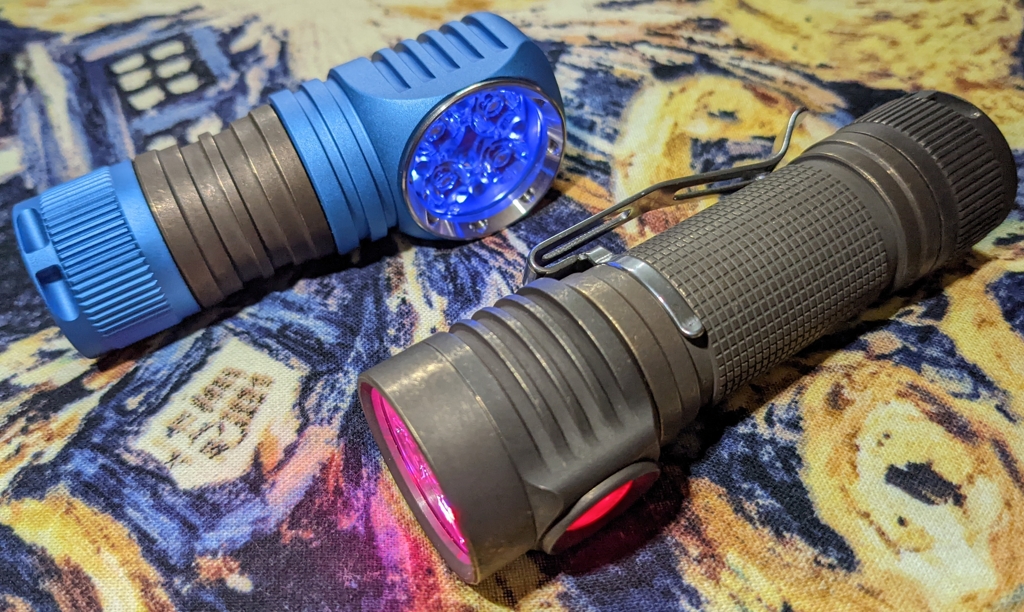
Emisar D4W (Short tube), Emisar D4v2 (Antique Brass)
Identify The Light And Current Firmware
Because of the variations in firmware, the best method of Identifying the Correct Firmware is to do a Version Check. If the firmware is too old and does not print a model ID, then contact the seller to ask about the proper firmware, and provide as much detail about the light as possible.
Programmer Hardware and Probe
Nearly all Emisar and Noctigon lights use the 4 over 2 pad layout compatible with the kit sold by Hank for the lights.
Note
One notable difference is the Emisar D3AA which uses a newer design including an avr32dd20 MCU and 3-pin UPDI flashing pads. This light is covered in Updating Emisar D3AA and other avr32dd20 3-Pin UPDI Lights.

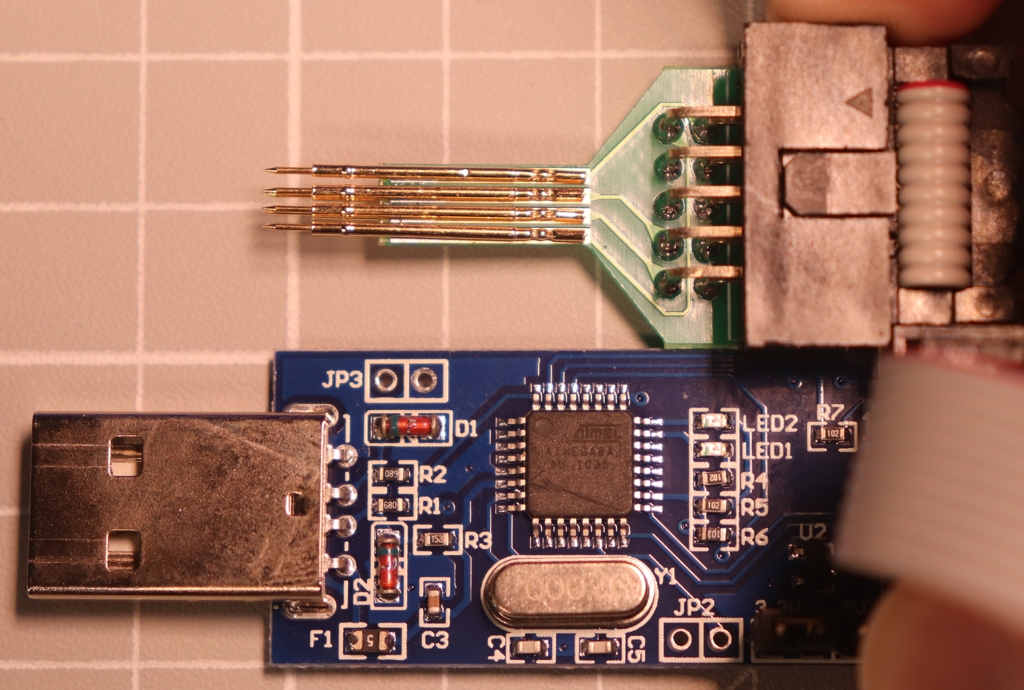
Hank’s Flashing Kit - USBASP Board and 4 over 2 Probe
Setup the USBASP programmer as described in USBASP Drivers.
Obtain a New Firmware File
Download or compile the appropriate firmware as described in Obtaining a new Firmware File.
Setup Programming Software
Choose one of the Flashing Methods, setup the software, and use the software-specific guide for the following steps.
Note
For simplicity, this guide will use avrdude examples, but zflasher can also be used in a similar manner.
Test the Connection with the Light
Unscrew the head from the light and locate the flashing pads.

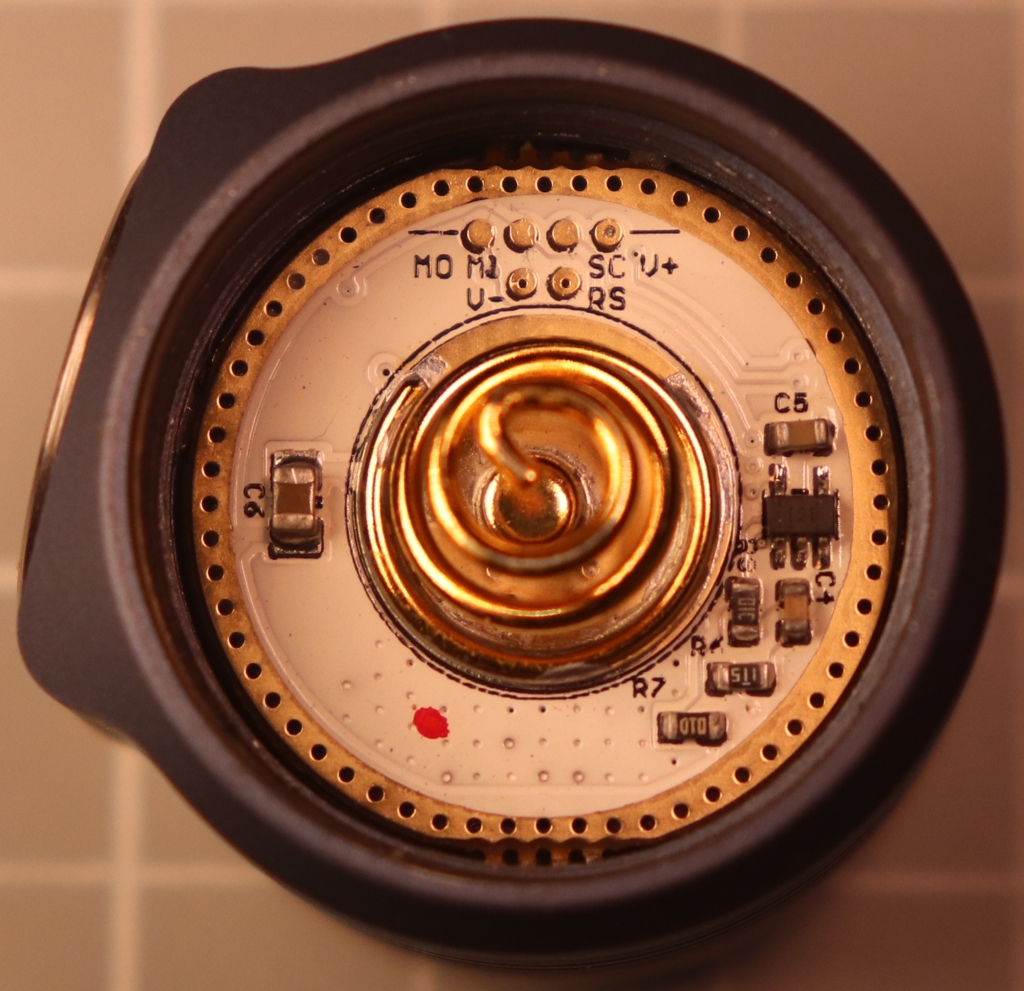
4 over 2 Flashing Pads on an Emisar D4v2
Connect the probe to the programmer, the programmer to the computer or android device, and connect the probe to the flashing pads on the light.
Use the test or ping function of the flashing software to confirm the connection is working.
PS> .\avrdude.exe -p t1634 -c usbasp -n
Backup the Current Firmware
Connect to the light and read the current firmware from the light to a file to make a backup.
PS> .\avrdude.exe -p t1634 -c usbasp -U flash:r:old-firmware.hex:i
Update the Light with New Firmware
Connect to the light and write new firmware from the file to the light.
PS> .\avrdude.exe -p t1634 -c usbasp -U flash:w:anduril.emisar-d4sv2-tintramp.hex
Perform a Factory Reset
Perform a Factory Reset after reassembling the light.