Updating Fireflies PL47G2/PL47MU, Sofirn LT1, and other 3 over 3 Lights
The Fireflies PL47G2/PL47MU, some revisions of the Sofirn LT1, and potentially other lights from Fireflies and Sofirn use a similar setup of 6 flashing pads in a 3 over 3 layout. If the light has no pads, or a different number of pads, this guide will not work.
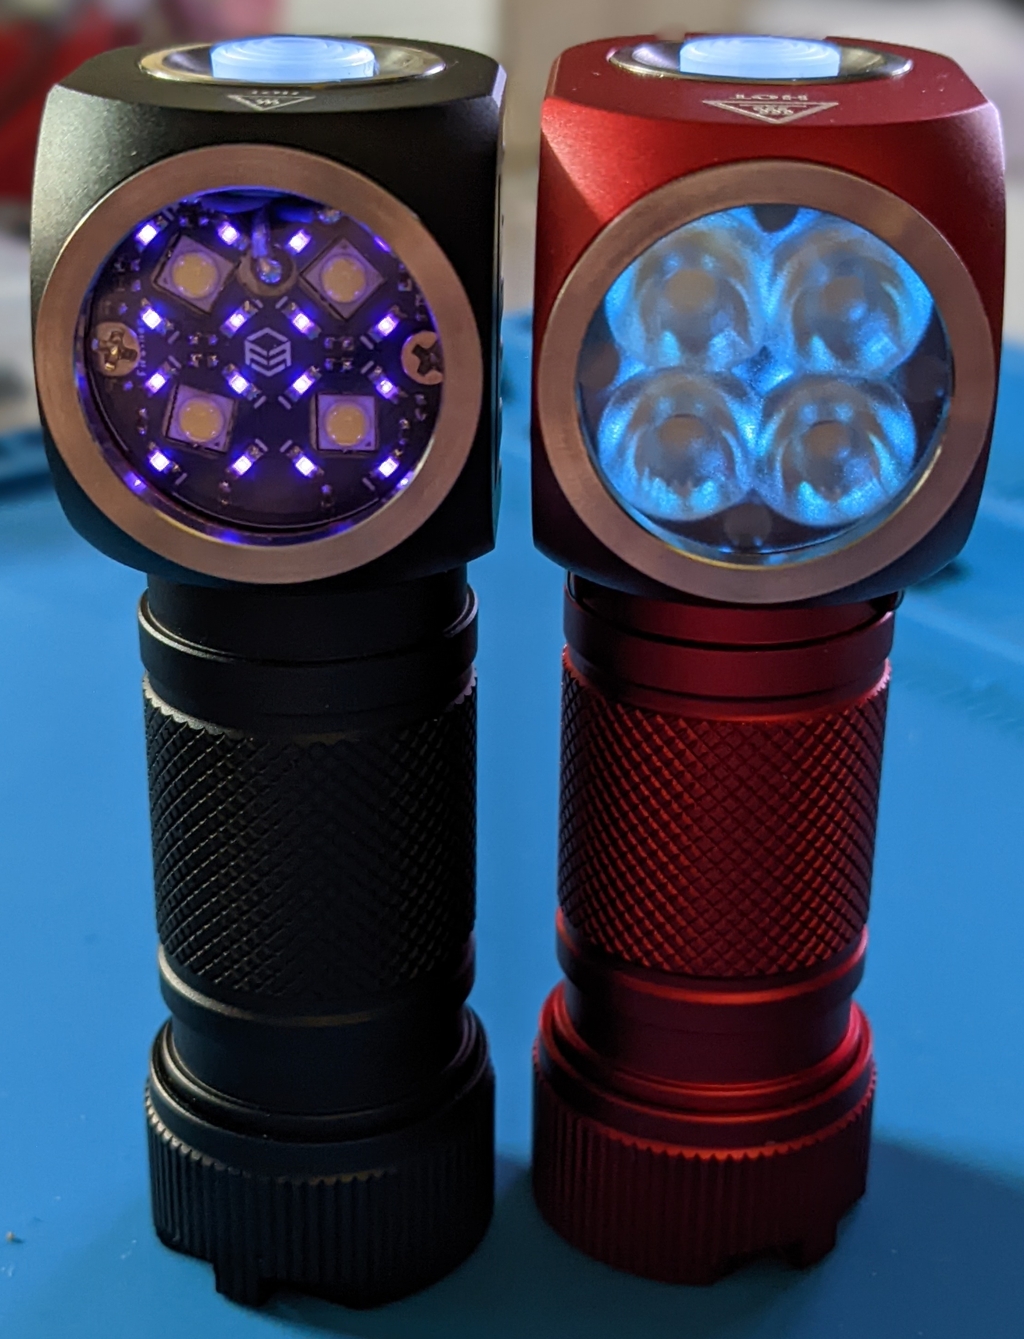
Fireflies PL47MU (Left) and PL47G2 (Right)
See also
An LT1 without pads, or with incompatible pads, can likely still be updated using the SOIC8 method covered in Updating a 2020 Sofirn SP36 Pro, Sofirn LT1, and other SOIC8 Lights.
Identify The Light And Current Firmware
Because of the variations in firmware, the best method of Identifying the Correct Firmware is to do a Version Check. That said, the lights may have shipped with versions too old to print model information. For the most part these lights use the firmware listed in the Anduril MODELS file with a notable exception for lights that use Nichia 219 emitters, which will be mentioned later.
Programmer Hardware and Probe
Updating these lights requires a USBASP programmer and a probe capable of using a 3 over 3 layout.
Setup the USBASP programmer as described in USBASP Drivers.
There are no official or pre-made kits for updating these lights, but there are several ways to adapt or craft compatible probes:
When connecting the probe to the light, use the notes in the guide for the probe for specifics on how and where to connect the probe.
Obtain a New Firmware File
Download or compile the appropriate firmware as described in Obtaining a new Firmware File.
If the PL47G2 has emitters other than Nichia 219, use
anduril.fireflies-pl47g2.hex.If the PL47G2 has Nichia 219 emitters, use
anduril.fireflies-pl47g2-219.hex.Note
The
anduril.fireflies-pl47-219.hexfirmware disables low aux levels so it’s not ideal for use on the PL47G2.
Setup Programming Software
Choose one of the Flashing Methods, setup the software, and use the software-specific guide for the following steps.
Note
For simplicity, this guide will use avrdude examples, but zflasher can also be used in a similar manner.
Test the Connection with the Light
Unscrew the head from the light and locate the flashing pads.
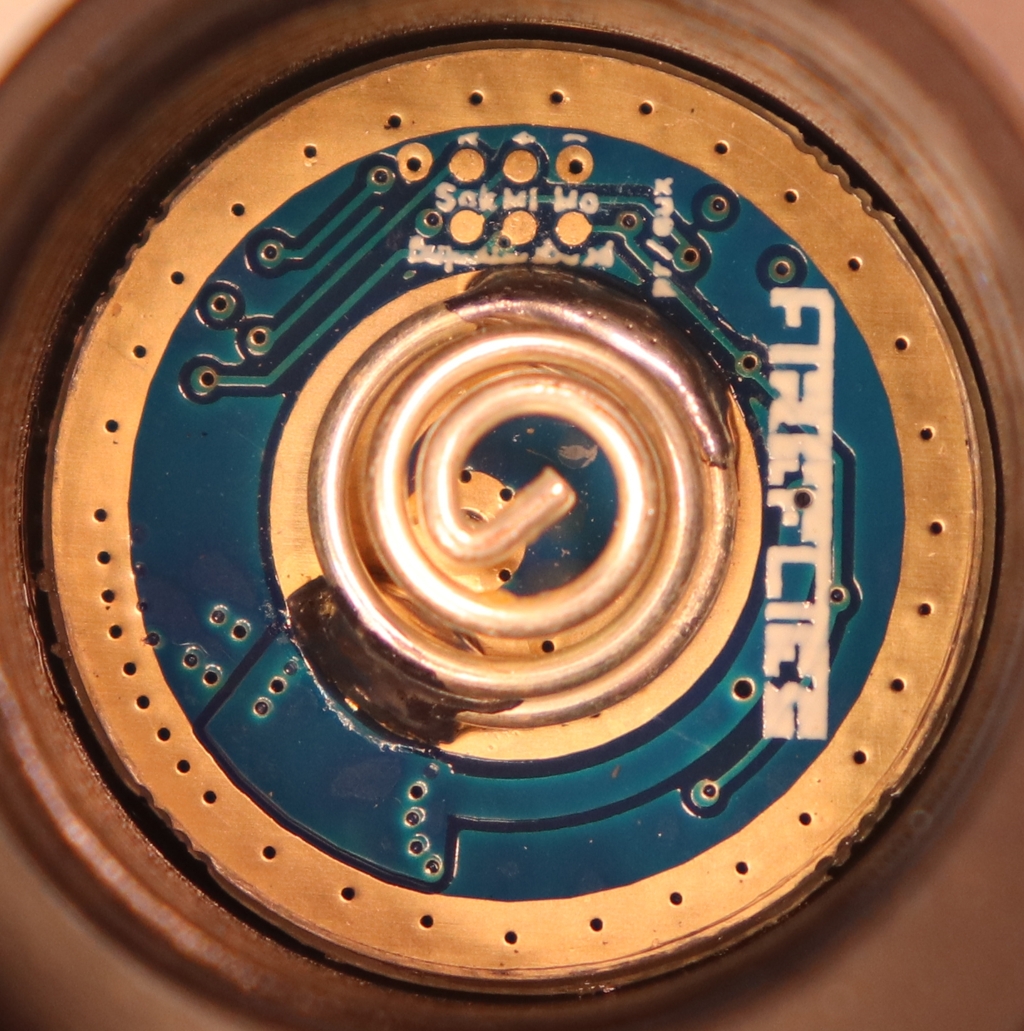
3 over 3 Flashing Pads on a Fireflies PL47MU
Connect the probe to the programmer, the programmer to the computer or android device, and connect the probe to the flashing pads on the light.
See also
Refer to the probe-specific documentation for specifics about how the probe will connect to the pads on the light.
Use the test or ping function of the flashing software to confirm the connection is working.
$ avrdude -p t85 -c usbasp -n
Backup the Current Firmware
Connect to the light and read the current firmware from the light to a file to make a backup.
$ avrdude -p t85 -c usbasp -U flash:r:old-firmware.hex:i
Update the Light with New Firmware
Connect to the light and write new firmware from the file to the light.
$ avrdude -p t85 -c usbasp -U flash:w:anduril.fireflies-pl47g2-219.hex
Perform a Factory Reset
Perform a Factory Reset after reassembling the light.